DIY Victory Rolls:
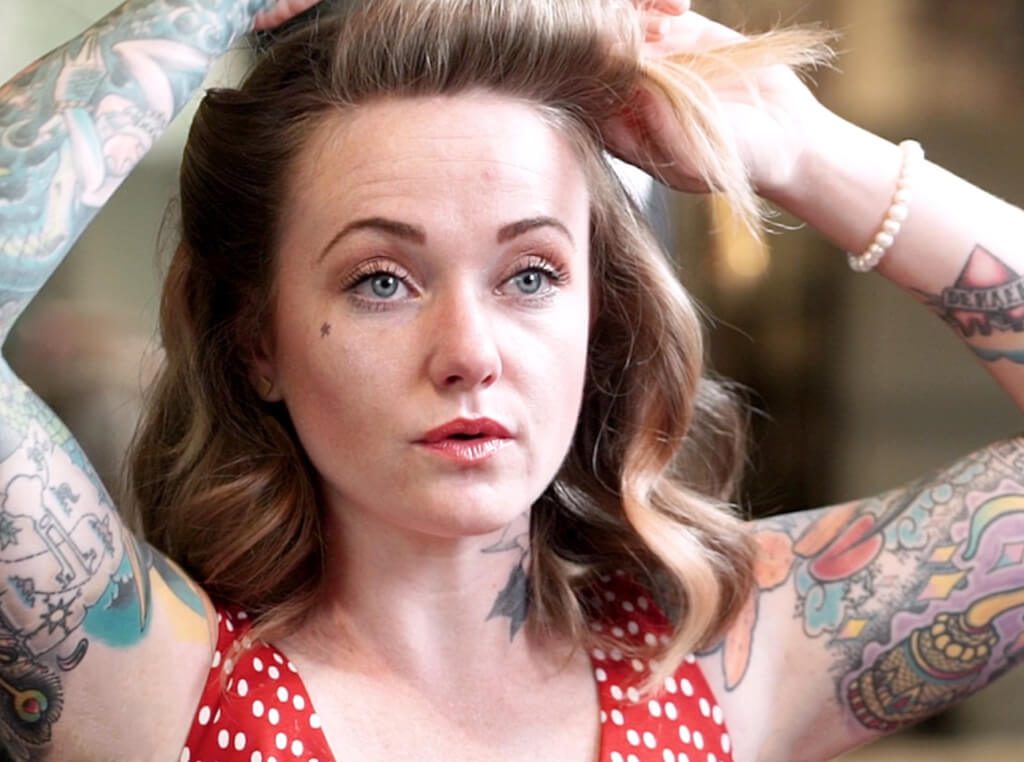
Grand Salon’s April Guerra modernizes the 1940’s classic with big, simple, voluminous and perfectly styled Victory Rolls.
Read the full transcript here:
Hi, I’m April with Grand Salon, and I’m here today to show you how to do a timeless look called victory rolls.
So as you can see, I already have my hair mostly styled. It’s loose-wave curls from yesterday, the front’s kind of flat. You don’t wanna do it with just naturally curly hair because the texture isn’t gonna play out right for the finished look. So if you do have naturally curly hair, I’d recommend straightening it first.
Then you pick a side, so one side’s gonna be a little bit more exaggerated. I feel like my hair wants to go this way, so I’m gonna force it the opposite way, which is gonna automatically, as you see, give it more lift at the roots.
So I’m gonna angle this section back. I’m trying to make it, like, a square shape, you see? And then, I’m just gonna follow that all the way to the top of my ear. So then the hair that’s in front of the ear here, the hair that’s in the back, a little bobby pin. And then, same thing on this side. I’m gonna find that square point there, and go down just to the top of the ear.
Going to section about half-inch sections, and I’m gonna take my back-combing brush, and I’m gonna back comb just the first three inches of each row. The front one I back comb a little bit less because you don’t wanna see the rodding, and then I’m gonna comb out the section there near the part. I’m also gonna hold the hair forward, and make sure it looks okay from the back.
Now this section’s done, I’m gonna move it out of the way. I’m gonna take this section, I’m gonna do the same thing, three back combs, smooth out the front, and that’s good for that.
Now onto this side, same thing, back comb this three times about three inches from my scalp, and then, the inside of this one just a couple times. Now I will start with the easy side. So I’m just gonna hold the hair straight out from my head, and use my finger to kinda create forced, kind of, half circle, and then, I’m gonna twist the hair behind. And so, I just created a barrel curl on the head.
With my right hand, I’m gonna twist, which creates a tighter curl. Left hand, I’m gonna go under the roll, and hold the hair down to my head. The simple thing is just to follow your finger with the bobby pin flat against your head. You don’t need to worry about opening it up at all because of this little opening right here. The hair will flow in and secure itself.
Now looking down from the top, the hole is a good thing. You wanna see the hole, you don’t wanna see only bobby pin. So I think I’ve hidden it pretty well. Now if you have slippery hair, you’re gonna want to use a light-hold hairspray, and then, I even spray down in the hole because you don’t want there to be too many flyaways.
So I’m gonna take this section, I’m gonna make sure it looks nice on all sides. I’m gonna hold it straight out from my head a little bit over to my right temple because you don’t want this barrel curl to be right on top of your head, you kind of want to offset to the side.
So I can see a little curl right here, work that out. Now the same thing, I’m gonna use my hand, I’m gonna push into this. Push it forward until I get that forced loop, and then, I’m holding it in one long…like, using my fingers like a clip, and I’m rolling it, and forcing it into a roll. Now this is a little bit too high for me for my liking, and again, I don’t like this side to be bigger, I want it to be smaller. So I’m gonna switch grip my hands. I’m gonna try to shrink this side down just by feeding the hair more into my finger back behind.
So I’m holding it with my right hand, I’m gonna try to bobby pin it with my left. So the flat edge down onto my scalp to find my finger, and this bobby pin’s gonna travel parallel with my finger down the length of that curl. So I’m gonna go ahead and do a back-up bobby pin, which I’m gonna start at the bottom, and I am gonna open it to make sure I get all these little hairs, see, that wanna be loose.
I’m gonna clamp it down onto the hair there, and move it up. Now this is going to sit inside of this, but it’s the same, sort of, process we’re gonna go through. I’m gonna grab all these straight bits from the head, so I’m just gonna hold it out for my head, use my hand, and push into it. Create that, kind of, half curl.
Use my fingers to clamp onto the hair, and twist it around. Now these ones I just feed in, and I’m gonna steal this pin from the back that was separating the sections, use that from the bottom, parallel to my finger, up to the top. And then, I’m going to just detail, use a comb to hold these little sections together here. I’m broadening, making this a little bit fatter.
I like using the lighter hold hairspray for building styles because you have more leeway. And then as I am walking out the door, I’m gonna use a strong-hold spray, so the session spray is a lacquer. It’s gonna have good shine and strong hold, so even if the wind gets me, it’s still gonna look good.
Did you enjoy this video? Then come watch our hair styling tutorials. Afterwards, come check us out on Facebook to be the first to see our newest videos!


