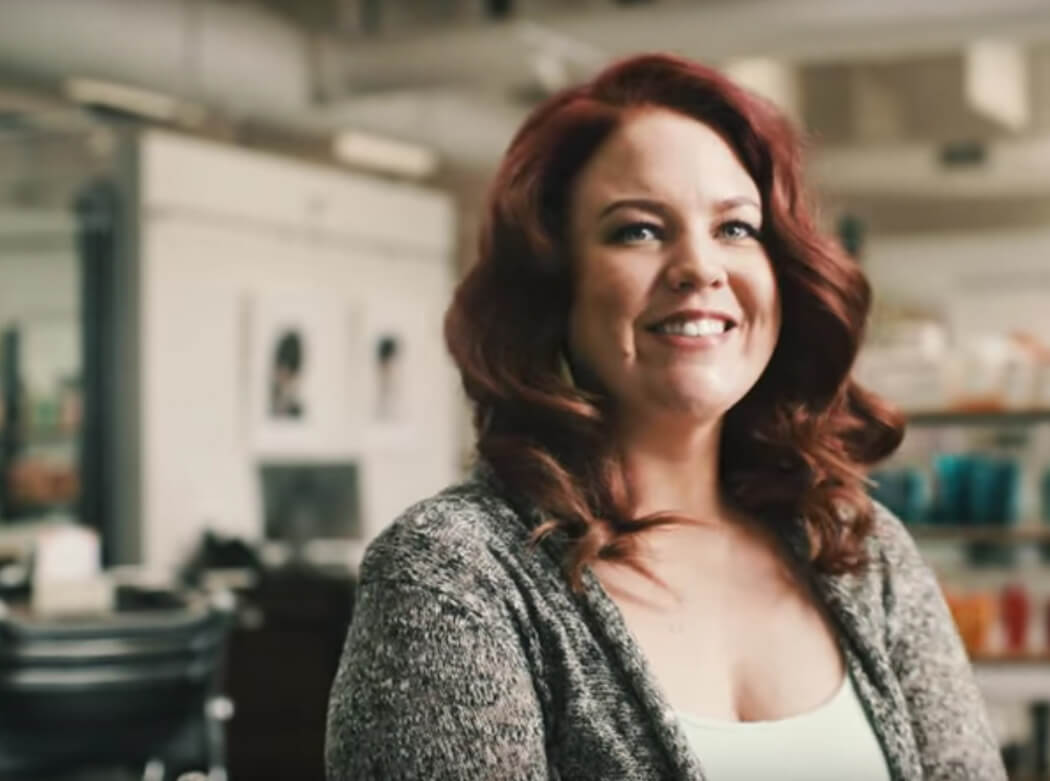
If you’re looking to make waves, Laura Taylor has you covered. One of her most client-requested tutorials takes you through her tools, techniques and preferred products for achieving classic Hollywood and flapper styles on your own. Time your curls right and vary your style every day, or leave them a little undone and disheveled and take your waves to the beach.
Read the full transcript here:
In this tutorial, I’m going to be showing you how to create waves. This could be done for definitely many occasions, if I wanna be a flapper hairstyle look, if I wanna do something for more old Hollywood style, or just to, kind of, dishevel it and make it ready for the beach.
I’m gonna start by getting my part down, this is just wherever you would prefer. I’m gonna use my setting hairspray, which is gonna be the Laque Couture. This is gonna protect my hair from the heat of the iron, and hold the curl better. You can spray section by section as you curl, or what I’m doing right now is just spraying it all, so I don’t have to do that.
I always like to brush through my hair before I start curling it, so it’s gonna be, like, a soft curl. Section out my two sides from where my part is, I’m just gonna pin that away. It’s always nice to keep cleaner sections when you’re doing your curling, so you can map out your area a little bit better.
I’m gonna start with the bottom of my hair, take my first section. It’s not a big section, but it’s not really a small section either. What you wanna focus on is curling all in the same direction. So as I move on, I’ll show you how I’m moving, or curling, all in the same direction. I’m using my wand because I like how fast it curls and the type of result I get.
So as I move this type of curl up towards the front, this is gonna be curling away from my face, starting on this side. My hair is a little bit coarser, so I have it set to 390. So you can see, as I’m getting closer to my face, I’m curling away. Curling all in the same direction is gonna give you those waves, which could, kind of, give you a flapper hairstyle look. It can also give you, kind of, a beach-y look too, if you, kind of, do it fast and more undone, and not as neat of sections.
It all kinda depends too with your finishing product at the end, like, if you’re gonna smooth it out, if you’re gonna, like, rough it up with some paste. If you’re trying to get more of an undone curl pattern, then try curling every other way.
As I’m curling around the wand and making sure that each little piece is, kind of, ribboning around the iron. It’s not all, like, bunched up. When it’s all bunched up, you’re gonna get, kind of, a more messier, not so polished, sometimes kinky, curl. I’m gonna move to the side here. Starting at the bottom, working my way up. Starting with the iron behind this piece of strand of hair, and curling away from my face.
I intend to always, for any style, curl away from my face. I feel like it helps kinda keep the hair out of my face. I always like to curl my hair on the days that I wash my hair, so then it, kind of, is, like, curlier for that day one. And then, as you will sleep on it, it loosens up, and it kinda becomes different styles each day.
Decided just to go slightly deeper with my part, and as you can see, what I’m doing when I do this, I’m, like, straightening it out, and making sure there’s no kinks in my hair. Going from the back of the strand, curling away from the face. This side, as you can see, I’m curling in towards my face. It’s because I started on that side curling away, and as you work your way around, you’re still curling in all the same direction.
The position of the iron is the same, held upside down, starting from the base, going to the tip. I’m gonna look to see if I missed anything. What I’m gonna do is take that same hairspray, and spray it one more time. You want to let your hair cool off from the heat of the iron before you start to brush it out. When your hair is cooling and letting it sit from the heat, it’s gonna set in that form better.
So that kinda goes with, like, anything. Anytime you’re trying to set your hair with, like, your round brush, or your curling iron. This side feels cool because I finished here earlier, and the best kind of brush to use for this is gonna be your Denman brush, or your Mason Pearson, something that kinda has, like, the different kind of bristles to it.
Start from your ends, and comb. This kind of brush kinda gives it that, like, fluffier effect to it. So this could, kind of, like, be your old Hollywood style. This could be more of a flapper hairstyle, you know, you can definitely dress this to what you’re going for. I could put some texture cream in it to finish it, then give it more of just that, like, beachier, wave look.
When you have this kind of style, you just kinda part it down the middle and bring it all forward. So that’s what I’m gonna do right now. And now that I’ve brushed it out, it’s got that fluffy effect to it, the waves are going all in the same direction. You know, you can kinda just detail it at this point to what kind of style you’re going for. And I’m just going, like, little, little, little with my fine-tooth part. And that’s how you create, “you’re making waves.”


