With Stephanie Jordan of Grand Salon, this tutorial shows you how to put some beach wave curls in your hair while preserving your length and body.
Read the full transcript here:
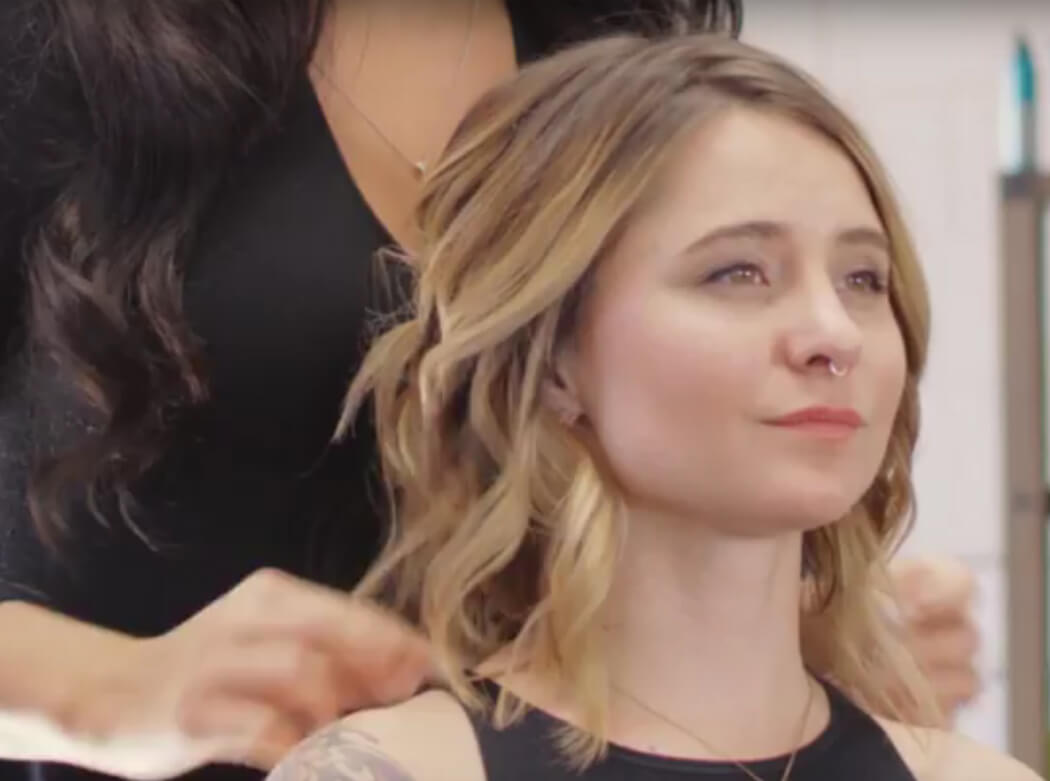
Hi, I’m Stephanie from Grand Salon and today I will be showing you guys how to do the lived-in beach wave curls with Megan here.
So what we’re gonna do, we’ve already prepped her with a heat protectant, and we’ve round brushed to give her some of that volume. I’m gonna start by grabbing my styling lotion, and I’m just giving her a few sprays. This kinda helps hold the style, makes it a little bit easier. I’m gonna comb all of this out. I’m gonna start off by sectioning her hair, and I am gonna go right above her ears and back. And this is gonna be my top section.
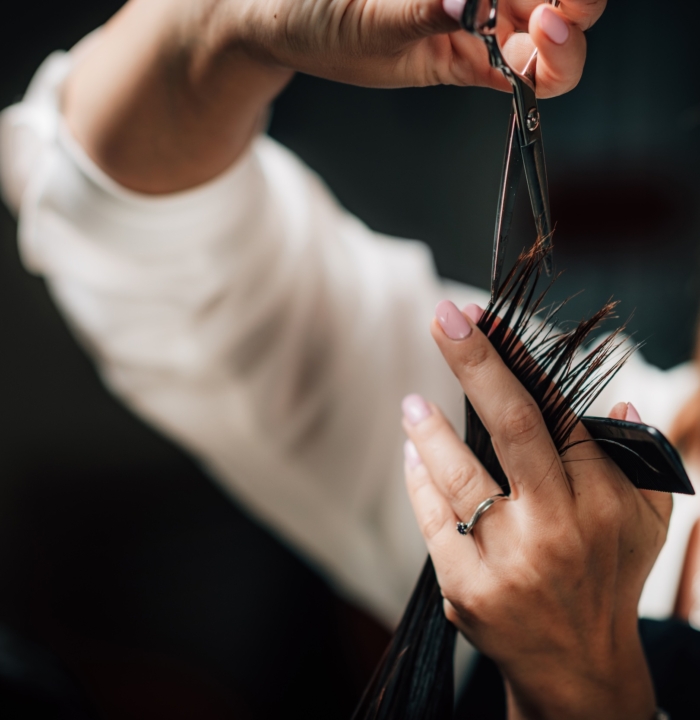
I like to use the flat iron for shorter texture, and I like the curling iron for more of the longer hair. One thing that you do want to make sure that your flat iron has is these rounded edges. So when I’m doing this, I’m gonna be holding my flat iron at a vertical point. I’m gonna take it, I’m gonna clamp and curl at the same time, holding onto the ends the entire movement.
I’m taking and I’m curling at a quarter. Once I have about an inch or so at the bottom, I’m gonna pull straight down. This is a style that you want it to be a little bit messier too. I’m gonna let these cool down and I’m gonna continue around her head. Once I get to about a half point on the head, this way I’m curling away from the face, so I want to do the same thing on this side. So this way, I was curling like this. This way, I’m gonna curl inwards. Same thing, clamp, curl, holding onto the ends, and then pulling straight down.
What I like to do with this top section is, I’m gonna take a horizontal section. So that way we can eliminate this line. So same thing, clamping and curling at the same time. And I’m going slow too, right? So I’m keeping my flat iron the same all throughout. Once I have that tail, I’m gonna pull straight down. That’s where it wants to live, so that’s where I’m gonna leave it. I’m gonna split this into two. I’m gonna have this going away from the face, and this side going away from the face. Starting at the root, pulling back, not moving my flat iron, holding on the ends, pulling down, and letting it live there.
Okay, so same thing with this side. We’re gonna be going away from the face, so clamping and curling. Once I have that tail, I’m gonna pull straight down. Once I feel like I’ve gotten to the top of her head, and where I feel comfortable with splitting her hair, that’s exactly what I’m gonna do. So she naturally parts her hair just a little bit off center. I’m gonna take my clip and I’m gonna zigzag it, just a little bit. And we’re just gonna mess it up.
Now we’re gonna continue with this top section. This section, I’ll probably split into two. I’m gonna take my back section, taking it away from the face, holding it a quarter turn, waiting until the ends, and then pulling straight down. So coming and curling away from the face, I’m not gonna turn my flat iron as much, and then I’m gonna pull down. So see how this one is just a little bit more relaxed? I’m gonna tuck that in, just to help it set where I want it to.
Now I’m gonna do the other side the exact same. All right, this is the last section. This one, you know, you can kinda do whatever you like. If you like it to go in your face, maybe turn it the other way. I like to have everything going in the same way, so that way, you know, you can pin it, you can just detail it however you want. Remember not as much of a curl in the front, and then flattening it.
I am gonna take my Cityswept from Bumble and Bumble. This is just more of, like, a texturizing finish. I’m gonna take my fingers and just, kind of, manipulate it how I want to, and I’m gonna spray at the same time. I’m taking this, and I’m spraying and I’m kinda pulling down. And I’m just grabbing pieces where I want to see this kinda flow a little bit more natural.
I’m taking my hands, I’m using this as my tool, and I’m just, kind of, shaking up. This is gonna help volumize. You can see this nice shape that’s happening right here. I like to always look for symmetry and I always like to look for balance. This is looking really nice so far.
Then I’m gonna take my fingers and just manipulate the front how I want it. You can see her length is still preserved, but she has all of this volume, all of this body, just with these curls.
So this is our final look. We hope to see you guys in our chair soon. Thank you so much.
Did you enjoy this video? Then come watch our hair styling tutorials. Afterwards, come check us out on Facebook to be the first to see our newest videos!