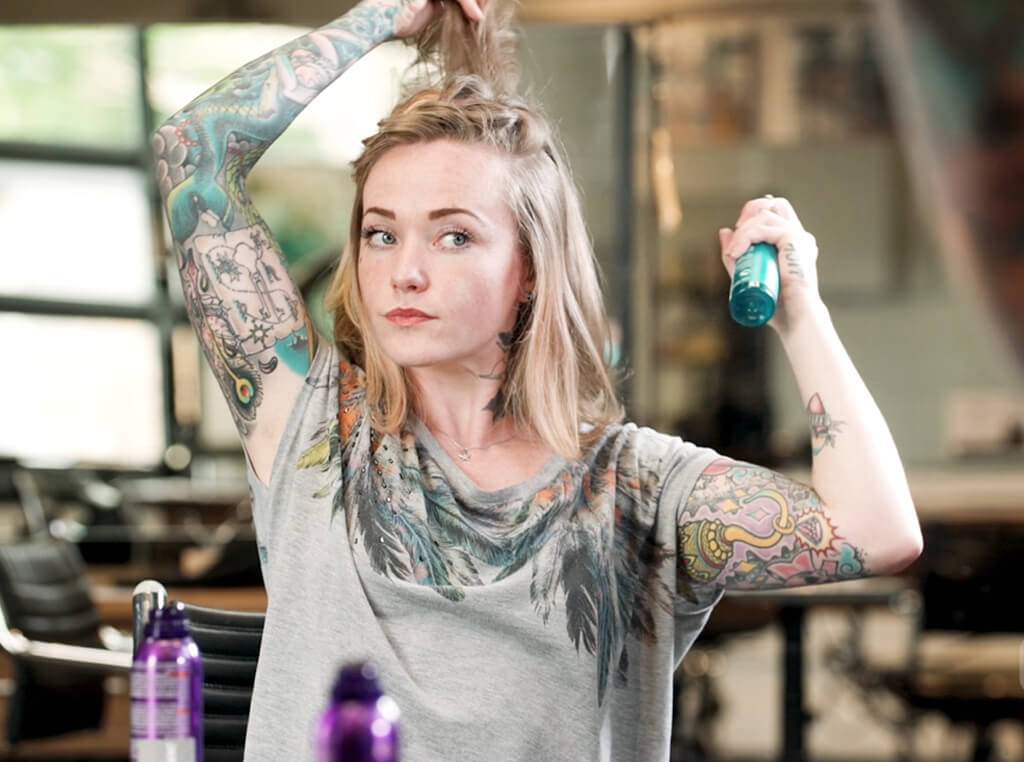
April shows up dirty to her tutorial shoot with lessons on styling and the best products (Kerastase Powder Bluff & Salt Spray) for creating texture and working with second day hair. As a “bonus” we’re coached on how to fluff a braid!
Read the full transcript here:
Hi, I’m April with Grand Salon, and I get the honor of showing you how to work with second day hair today, with the added bonus of how to flip a braid. Here’s my hair, waking up, second day, dirty. I don’t feel like it’s greasy enough that I need to wash it, but I wanna add some style, some flavor, that were mine. I’m gonna start with parting my hair for a heavy side part. I’m doing this because my goal is to get a braid. It’s gonna go across the front of my hair here.
My hair is feeling a little bit soft, so I’m gonna add a little bit of powder bluff. Adding texture to you hair before styling it, especially on dirty hair, will help your style hold. Now, as you can see, I have these little fly-aways that don’t wanna play with the longer hair, for that I’m gonna use a salt spray. The salt spray has texture in it. The texture is gonna help the hairs all stick together in the longer braid pattern. I kind of wisped this braid from the roots down across the longer bits. Now, I’m just gonna do the regular French braid, and my sectioning is gonna be right around the front here.
French braids are just three stranded braids where you add pieces as you go. I try to keep my sectioning really clean using my finger nail to part my hair. So, as you can see I’m taking little tiny section in the front, and then a much longer section from the back. Now, I’m gonna stop my braid right here at the other side of my forehead, and I’m gonna use an elastic tie. Because when I’m pulling the hairs, it’s easier to get the fluffy pulled out texture of the braid when you have an elastic versus a bobby pin. So, to pull on the braid, you’re gonna go back to were you started and you’re gonna pick a section where you can see the whole row. And I’m just gonna pull out unto the side, and now that loop is bigger and it’s getting bigger, I’m gonna go to this side and do the same thing. Kinda helps when I’m holding unto the elastic to help pull the hair out, and then I’m just gonna do this. It’s kind of a turning, twisting motion on each one of these loops. And the bigger and messier, the better.
I’m gonna start up the beginning of my braids for this, because you’re really pulling the hair up and out of this ponytail. As you can see it’s getting shorter. Now, I’m gonna pin this braid down to my head, open it up a little bit, gonna scoop some of my hair from underneath, and then slightly grab that braid, and run the bobby pin along my scalp and just let it kind of seat. I think I’m just gonna do a couple of little waves across the top and the back to make sure it doesn’t have any ponytail marks, adding some more texture spray. I’ve got my one-inch iron all heated up and ready to go. Now, I’m just gonna point the iron downward, wrap my hair away from my face very loosely. I can kind of feel where the hair is warm versus where the hair is wet. It’s not I’m choosing the hair that I’m putting in this section, and for these sections, I’m just feeling for the amount of hair that’s not longer than this clamp on the iron and the amount of hair that’s not thicker than the iron across. And then I’m brushing it all out letting it kinda do its thing, I’m ready to go.
Did you enjoy this video? Then come watch our hair styling tutorials. Afterwards, come check us out on Facebook to be the first to see our newest videos!