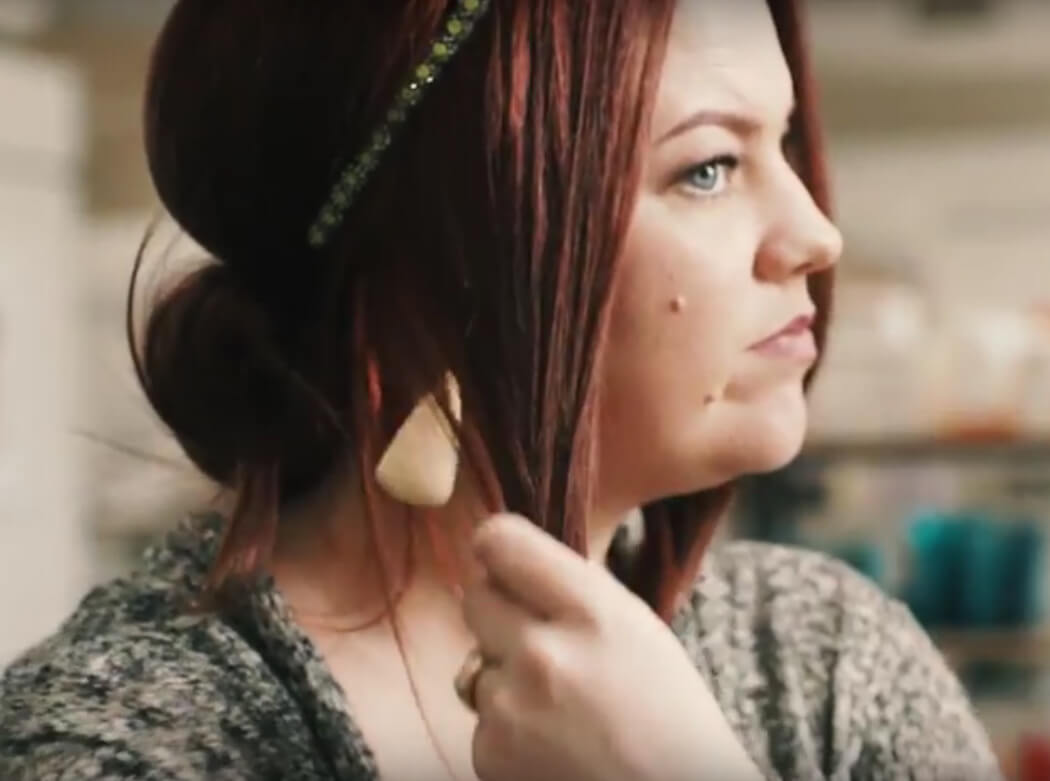
Grand’s Laura Taylor backcombs, braids, pins and twists her way into this lovely and simple headband wrap. It works great with different lengths of hair and can be worn casual & messy for the everyday or set with Shine Serum for a more polished look.
Read the full transcript here:
Hello, my name is Laura Taylor. I’m here with Grand Salon. In this tutorial, I will be showing you a simpler version of the headband wrap.
Start with back-combing in the back here to get a little extra added volume. If you don’t care for volume, you can totally skip this part. I try to keep my sections cleaner when I’m grabbing this for a little more back-combing.
Next, I’m gonna section out my front two sections. I’m gonna go with a little bit more of a zig-zag part here, so you don’t really see the part as much. And I’m sectioning right to the top of my ears. I’m just using these clips to kind of keep it out of my way. Next, take your headband and place it right on top of everything. Get the desired volume you’re going for. My headbands tend to slip on my head, so I’m gonna take a couple bobby pins, and right behind the ear, secure it.
I’m gonna take a look with my mirror. If you’re going for more of a polished look you could take just a little bit of shine serum to polish out the rest of the hair back here because what we’re gonna do is wrap it up. I’m gonna go for a messier every day look, and I’m gonna back-comb this section just a little bit more.
This style works for really any length. If your hair is shorter, like into a bob, or even longer. For my length and longer, what you’ll want to do is grab a little bit of elastic and put on the ends right here. Then you just take your section and twist it up. You can tuck it into your headband. I usually like to just bobby pin it. That way I know it’s secure. I just get both sides first so I can kind of work from there.
We’ll take one more look. Next, you go to your sides. And with these, you can either braid ’em to wrap ’em back like this or twist ’em. I’m gonna go with the twist. As I twist it, I kind of, at the end, just pull little pieces out. This is gonna give it a little more volume. We’re gonna just take it at the end, pin down.
It would even be cute if you twisted one side and did one braided side. This style works really well with textured hair as well. If you have natural curl in it or curling iron curl, it’s gonna give it more of that like, beachier or like, messier look. These little guys that are kind of falling down I can get with my hairspray.
I’m gonna take a look one more time. And that’s a much simpler, faster way for wrapping the headband tutorial.
Come explore some of our other hair styling tutorials, and check us out on Facebook to be the first to see our newest videos!